Early calls to GTRV for replacement hinges went unanswered. I eventually figured out (through a lot of catalog searching) that the hinges were Reimo-made, duplicates of early VW Westfalia hinges. Sourcing these directly from Germany was going to be VERY expensive, so I kept looking for alternatives. Eventually I found other hinges with a similar (but not exactly matching) geometry for another product. After some wheedling, the manufacturer of those bartered with me for a set:

As you can see, the gold Reimo hinges are longer, so I had to make some modifications to get things to bolt up. I don't have pictures of the process because it was a bit sketchy with the top raised and supported by 2x4s, etc.
As a bonus, the replacements are vastly superior construction. The Reimo design is thin material and single-shear, whereas the new ones are thicker material AND double-shear:


For some reason, I never took a photo of the top raised with the new hinges. It looks basically the same. :D
Knowing that the hinge-replacement was always on the horizon, and fearing I'd need access to the roof to change the hinges, I never got around to putting the headliner back in the van. I'm sometimes amazed that my wife didn't complain more about riding around in a van with the metal roof and all the ribbing exposed. With the hinges finally changed, I was able to start that job only five years later.
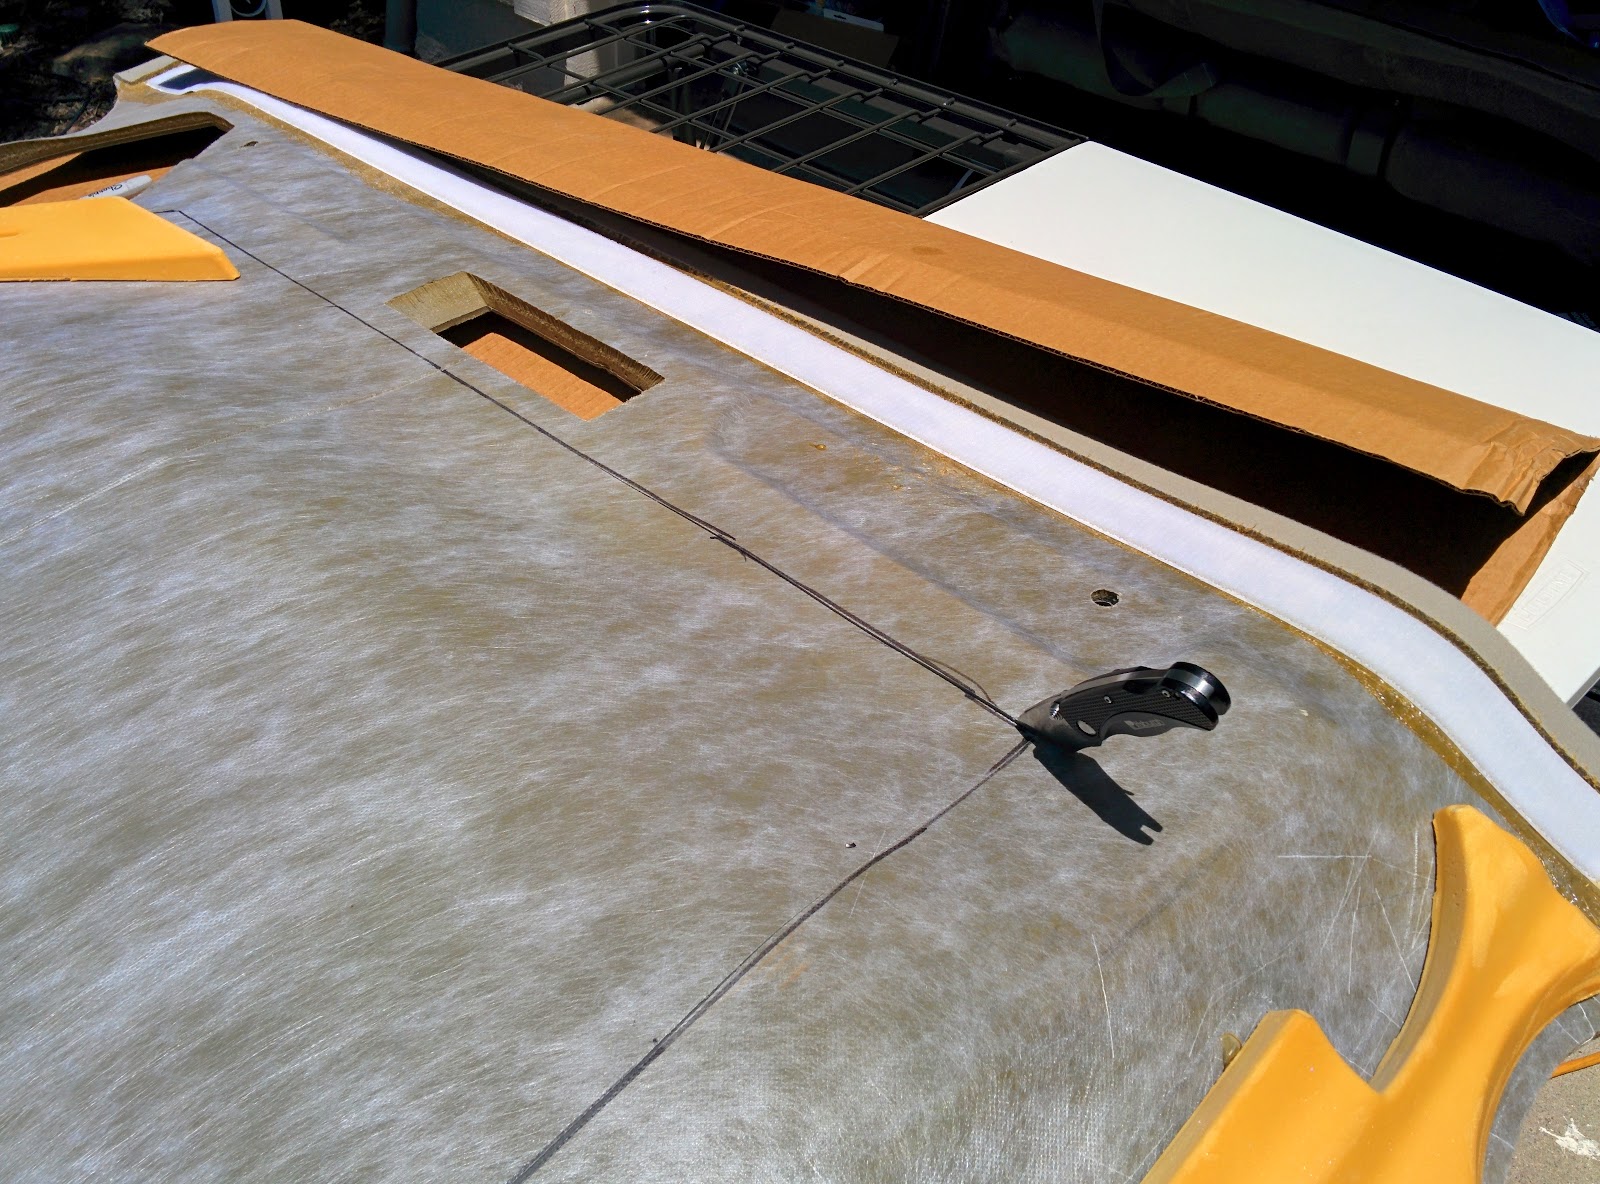
Step one was to put the headliner "mostly" up, and make a small access hole:

Reminds me of the early stages of this project, 5 years and 50+ lbs ago:

Anyhow, using the access hole, I marked the perimeter of the headliner against the hole in the roof:


Then started in on it with a razor knife:
And finally ended up with a big hole:

(Note, this is actually about 2/3 of the headliner - the Astro design has it in two pieces, the rearmost 1/3 is a separate piece and re-installed mostly without modification)
Given how thin the "side strips" are, and due to issues with needing to fit around the reinforcing ring at the forward edge, I decided to divide the headliner into two pieces. I needed to make a new forward section from scratch. The "middle" and rear headliners are now currently installed, but the cut edges still show. I didn't like how the old GTRV headliner was installed as one giant piece with the fabric from the headliner wrapped directly onto the upper roof and was glued down. This made it so you couldn't drop the headliner without peeling the glue, so I'm making sure I "fix" that method before I recover everything here.
UPDATE:

I've finished crafting the new forward headliner sections. Templates were made from some scrap hardboard. Lots of little odd cut-outs were needed to deal with the mounting for the visors and forward dome lamp.

A high-density closed-cell foam was glued to the hardboard - I'm always wary of knocking a head on this area in an accident.

Test-fitting the headliner panels. As you can see, the upper-bunk carpet is now separate from the headliner, so I can drop the headliner when ever needed for maintenance (or to run wiring, etc.) These panels are partially held in by the OEM plastic trim, but after they were covered in matching headliner fabric, I've also added a few screws and finish-washers to hold them in place. I just realized I don't have a good photo of the finished panels!