Nobody wants to admit it, but I think the primary reason people don't air-down as a rule, is that it can be a hassle to air-up again at the end of the trail. The solution, then, as with so many of my little projects, is to reduce the hassle-factor as far as possible. Eliminating all the barriers to good behavior is the surest way to prevent bad behavior, as it were.

Having had excellent luck with portable Viair 400p, then a 2nd-hand 400c hard-mounted in Vandalf, I opted to use another Viair 400c as the basis for this project.

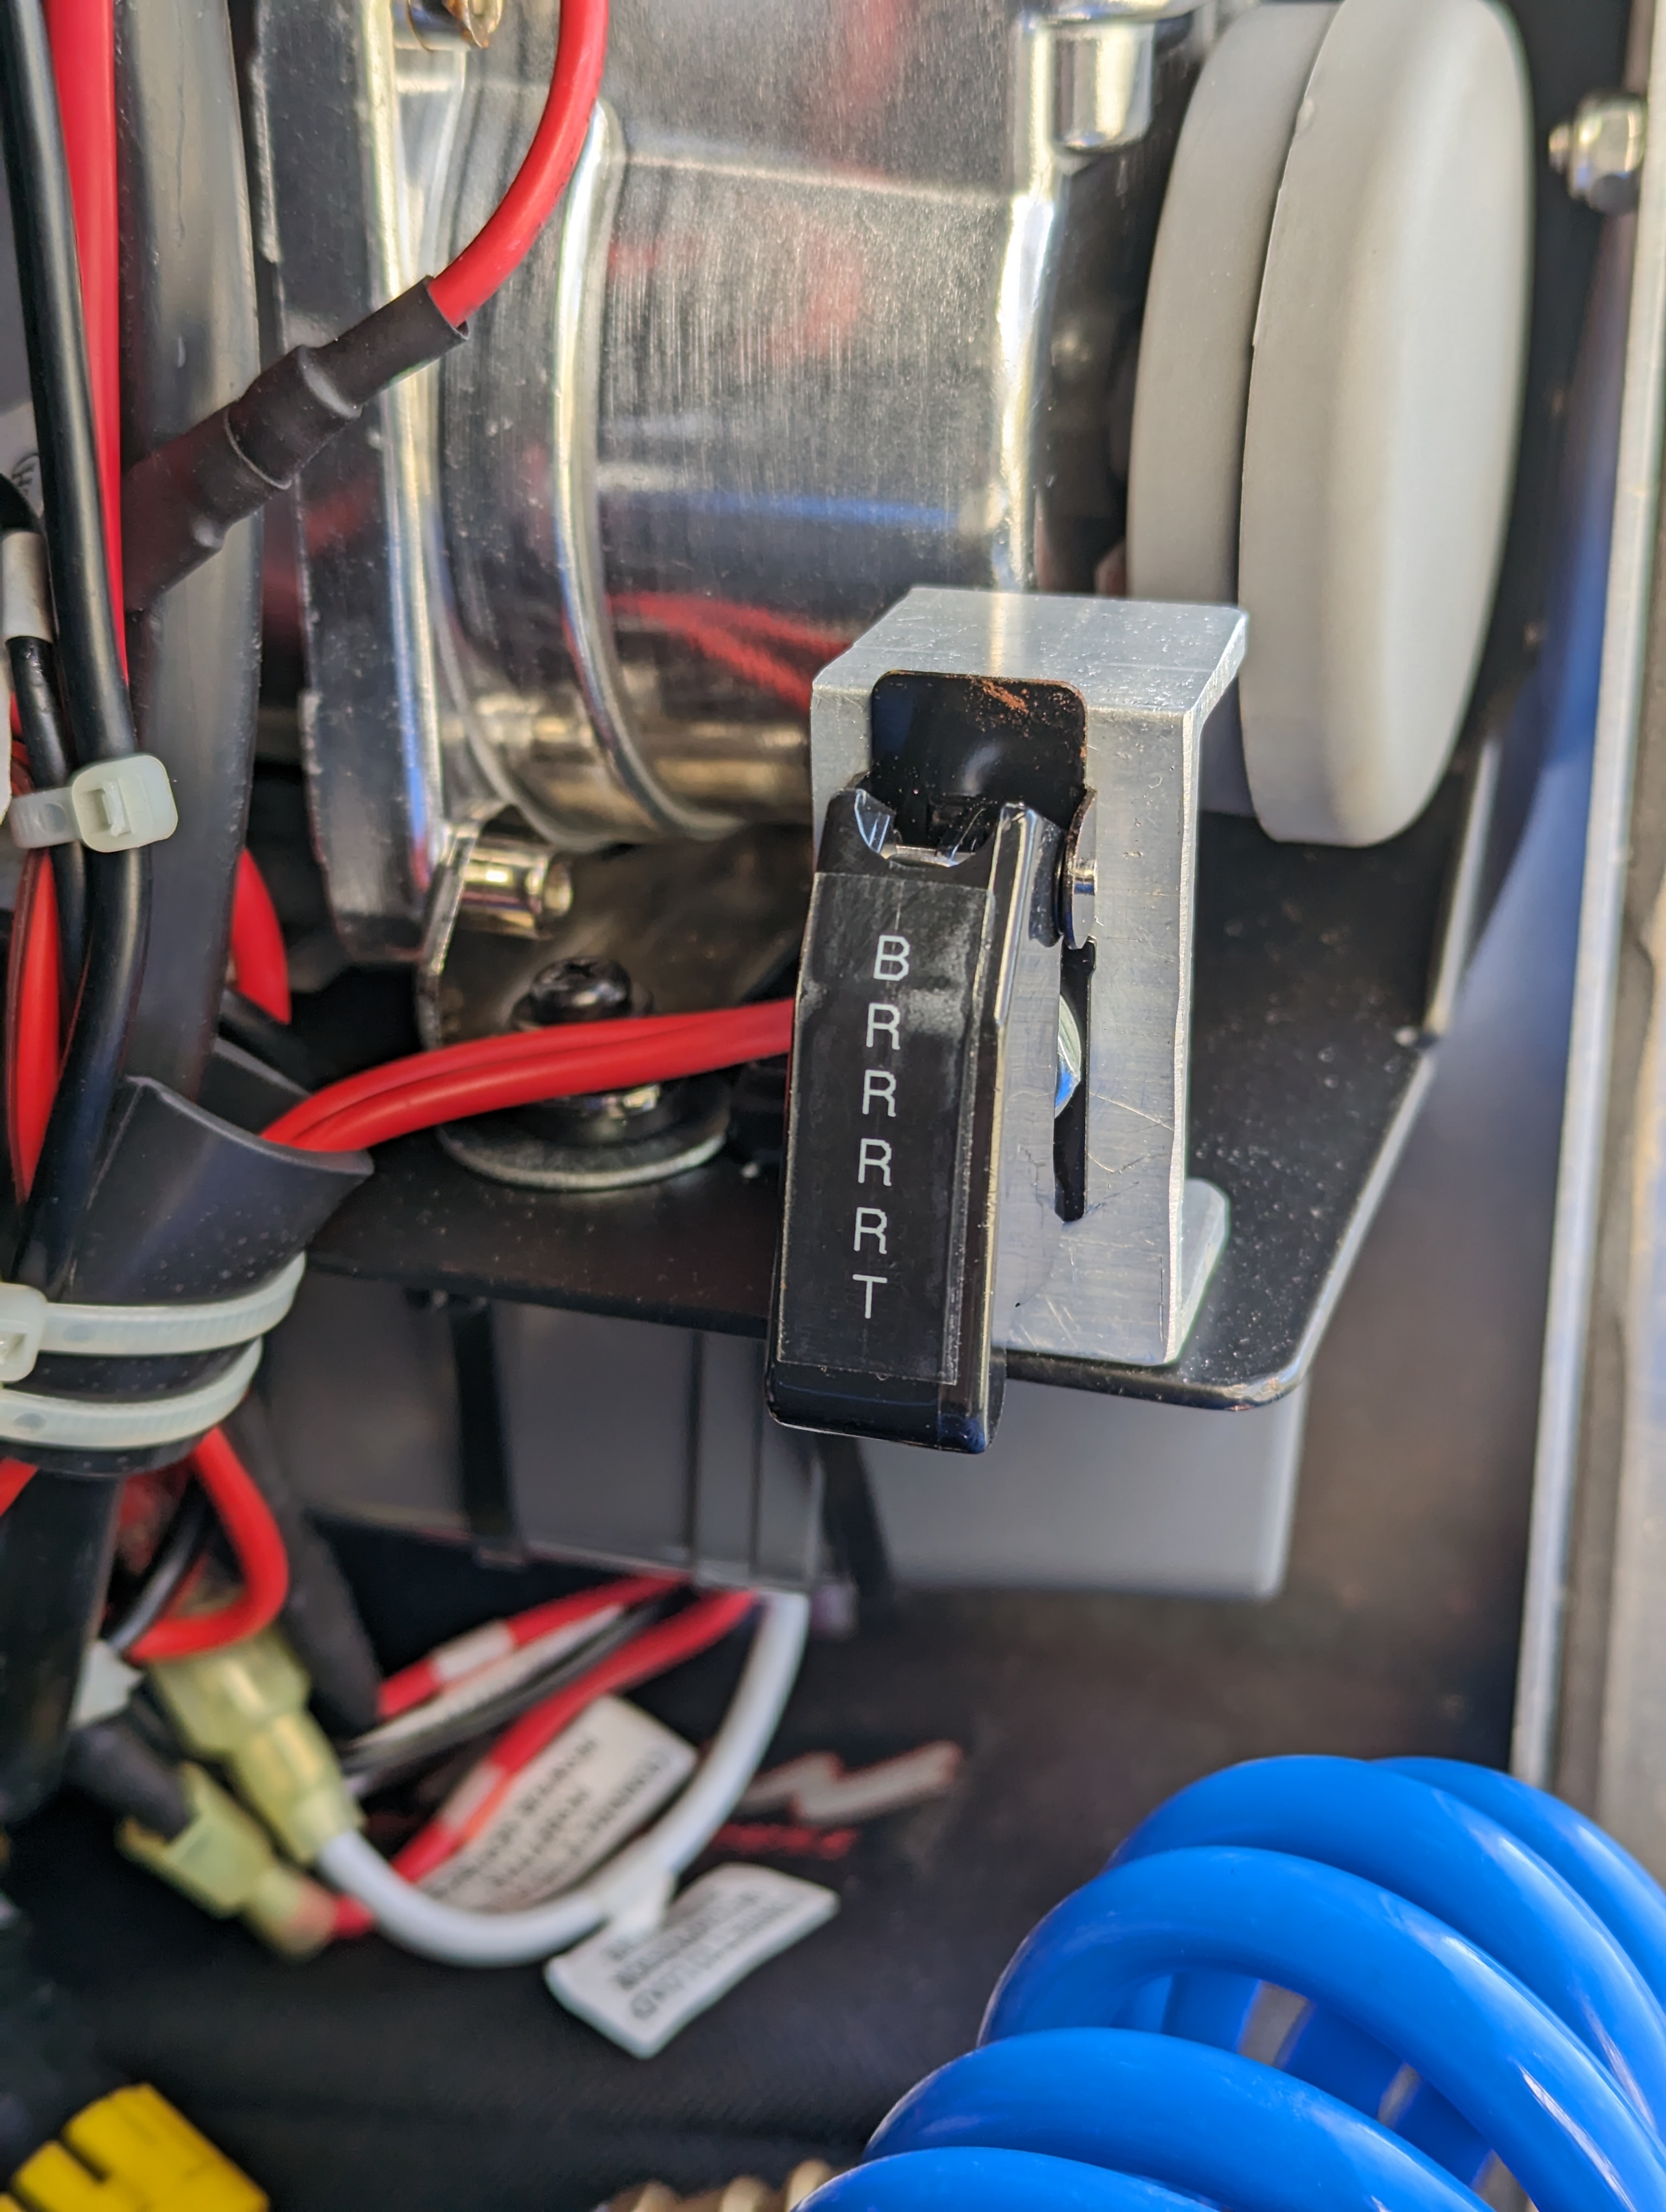
My mounting plan this time around necessitated Viair's "Heavy Duty Mounting Bracket", with a few modifications. Notably, I needed to trim the mount to be a bit shorter in length, which unfortunately removed one of the corner braces, but the mount seems to be sturdy enough with only one. Additionally, I made provisions to mount a toggle switch with safety cover, since for the first phase, the power for this comes directly from a fused line off the battery. (Fancier power control to come in the future.)

The Viair compressors can be mounted outside, but given that clean air into the filter will help with performance (and life!), I wanted to mount the compressor inside one of the flatbed's underbody storage boxes. This keeps the pump out of the trail dust, but makes it very easy to access when needed, and keeps all the accessories like air line, fittings, etc. all close to hand. For this, I added some 1/4-20 rivnuts to the mount, so that I could fasten it through the side of the box. (I preferred to have fasteners coming into the box from the outside, rather than having the rivnuts visible.)

Additional modifications to the underbody box included added a gland nut to pass through the air line to the outside.

Since it worked out so well on Vandalf, I planned on doing a similar tankless, low-pressure switched setup. As before, this setup allows me to pre-set a regulator downstream from the compressor - when the tire reaches the pre-set pressure, the regulator will close and add back pressure to the air supply line, which then triggers the pressure switch to cut off power. This time, I opted to use the Viair 90110 Pressure Switch assembly, which includes the switch and power relay in a single package, rather than having to wire everything up discretely. My only complaint with that piece is that the supplied case is slightly "barrel shaped", making it difficult to mount it cleanly. I ended up fastening it to the mounting plate, teed in with the line that runs out through the side of the box.

Once outside the underbody box, it's all just a matter of plumbing and finding a place to mount stuff. I started by chopping up a couple of short sections of stainless steel angle stock to make a matching pair of left/right mounting brackets for the air chucks. This project reminded me exactly how much I hate working with stainless. Putting in big holes without the material work-hardening is, frankly, a pain in the ass.

These brackets fasten into the channel formed by the "headache rack" at the front of the flatbed tray, and provid a convenient and out-of-the-way location for the air chucks - one on each side.

Once everything was plumbed up, it's a simple matter to plug in the regulator assembly with the coiled air hose and set the pressure with the adjuster. I could have mounted the regulator directly off the compressor inside the box, but having it plug into the air chuck this way allows me to make adjustments from whichever side of the truck I'm using the hose.
This setup allows the compressor to shut off automatically when the tire reaches the desired pressure. Rather than having to continually monitor the fill process and test the tire pressure, I'm free to use that time to flip the adjusters for the rear shock settings and generally do a walk-around inspection of the tires and rest of the rig. When the compressor shuts off, I can double-check the pressure with my hand-gauge, then move on to the next tire. For proper credit and a full explanation of the design, please see the original Expedition Portal thread that inspired me.

And finally, I added a little label to the safety cover, just so that anyone operating the system knows what to expect. Sometimes it's the little things that make me happy.
No comments:
Post a Comment